
Master-Slave Architecture Overview The Master-Slave Architecture in Jenkins becomes an important concept to know that can enhance the efficiency of our CI/CD processes. This architecture helps us in such a way that if we have multiple processes running on Jenkins, it can easily manage them by distributing the processes to multiple other nodes. By node, it means it's the slave. In Master-Slave Architecture, the master is like the boss who manages and controls everything, and slaves are like the workers who do the actual work. Master and Slave interact with each other using TCP/IP protocols. Master-slave architecture in Jenkins is like a team working on a project. It is mainly used to manage distributed builds.

Why Master-Slave Architecture?
Master-slave architecture helps to distribute large loads and make our process fast and efficient. Here are some more points why we should consider Master-Slave Architecture:
- Distributed Builds: Let's understand using an example: Suppose you were building a multi-story house, obviously you need a team to work with you, right? Otherwise, it would become hard for you to complete the whole house. That is why you need a team so that work gets distributed among each member of your team. Similarly, a single Jenkins server can't handle all the builds, so we need to distribute the work among several servers which we call slaves.
- Handling Larger Projects: If the project is large and complex, it is more efficient to divide the work among the team members. In the same way, for larger and heavier builds, we use multiple Jenkins servers (slaves) to share the load.
- Workload Distribution: Just like a team leader assigns tasks to members based on the skills an individual has. Similarly, the Jenkins master node assigns build tasks to the slave nodes. This allows running multiple builds at the same time.
- Different Environment: Sometimes, team members work from different locations or use different tools. Similarly, Jenkins slave nodes can run jobs in different environments like Linux, Windows, MacOS, etc.
- Improved Performance: Just like a worker works efficiently when tasks are divided among the workers, Jenkins works faster and better when tasks are handled by multiple servers.
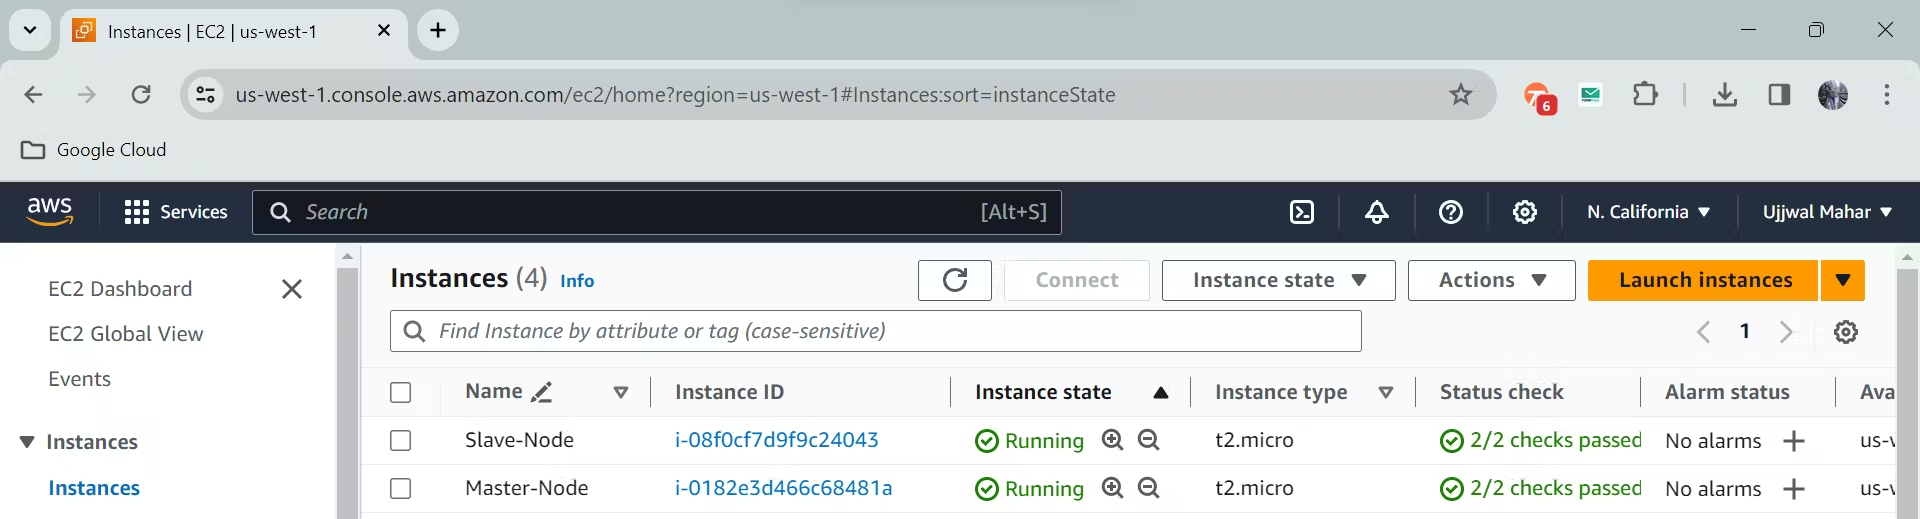
How to Setup Jenkins Master-Slave Architecture? For configuring master-slave architecture, we have already created two EC2 machines; one is a master node, and the other is a slave node. We have installed Jenkins and Java (17) on our Master and Java on our slave node. Make sure to install the same Java versions on both the slave and the master node.
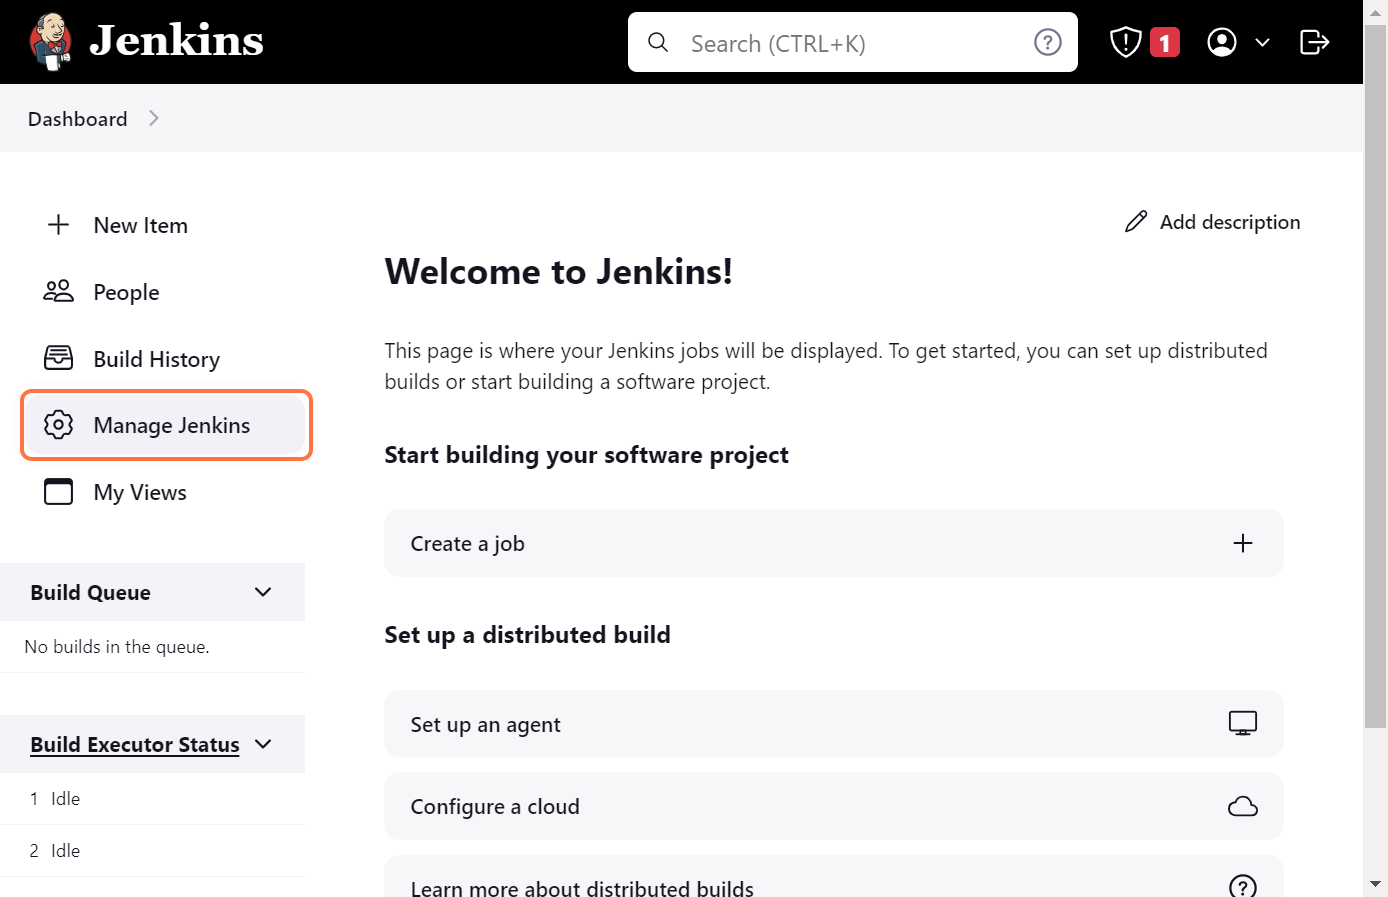
If you don't know how to configure Jenkins on an EC2 instance, check out this blog. Once you have successfully configured Jenkins. Follow these steps to configure the Slave node/Agents : Step 1: Click on the Manage Jenkins section.
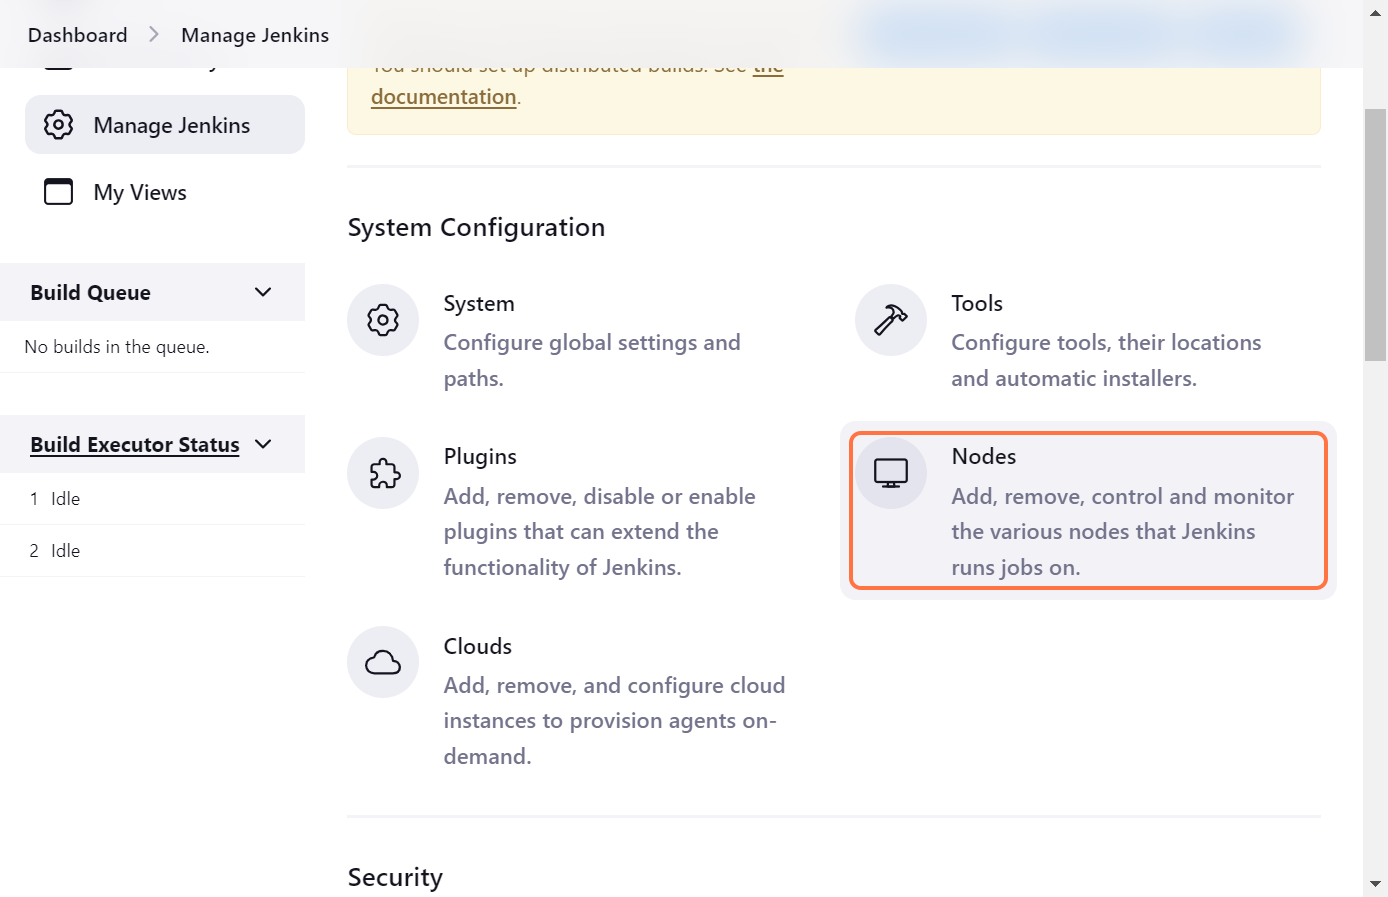
Step 2: We need to make a Slave Node. Click on Nodes in the System Configuration.
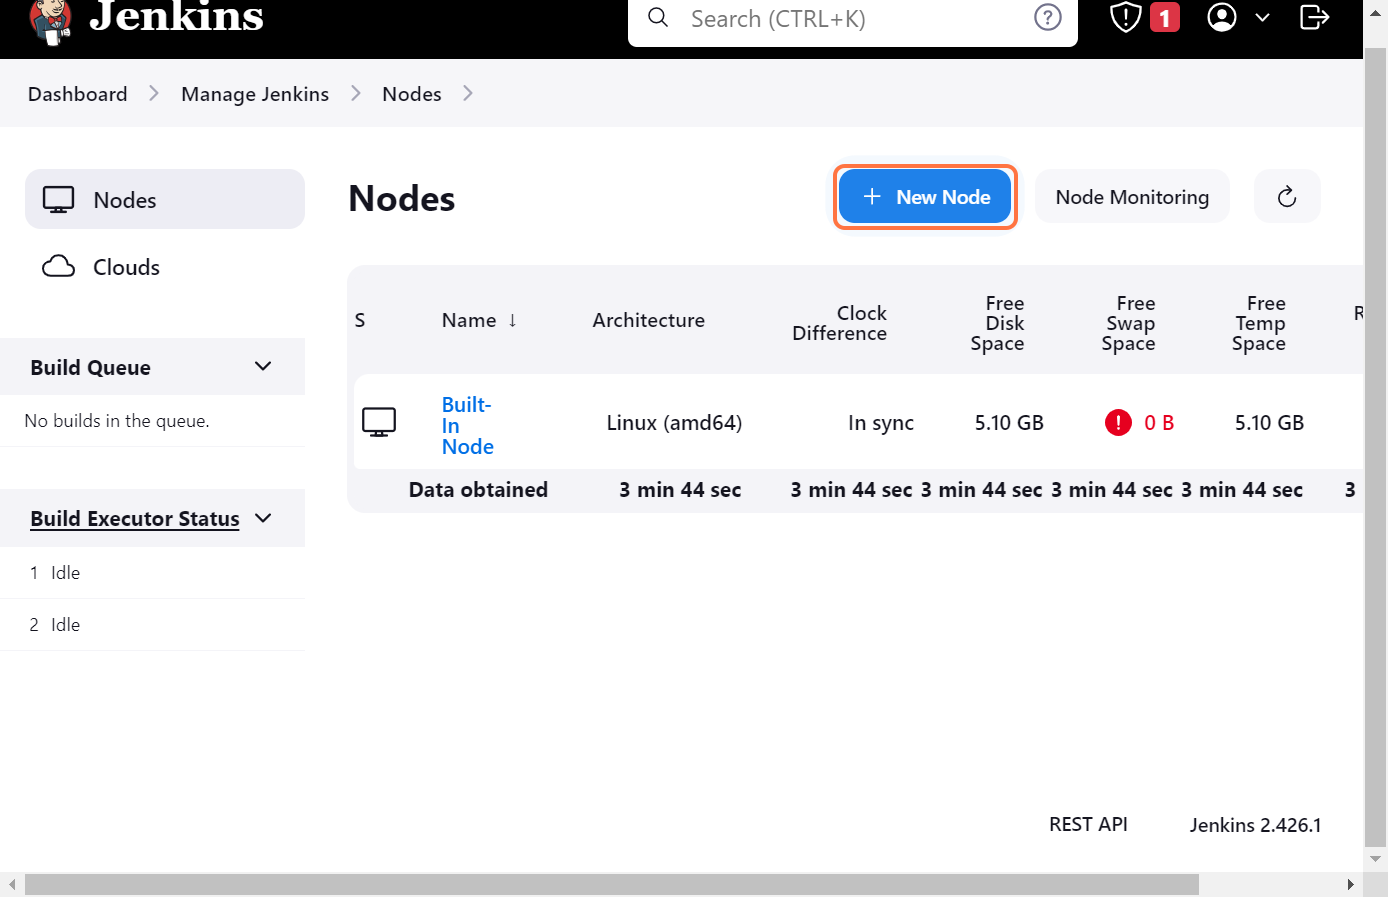
Step 3: We can see that we only have a Built-In Node. This node is the default node created at the time of the creation of Jenkins. Click on New Node.
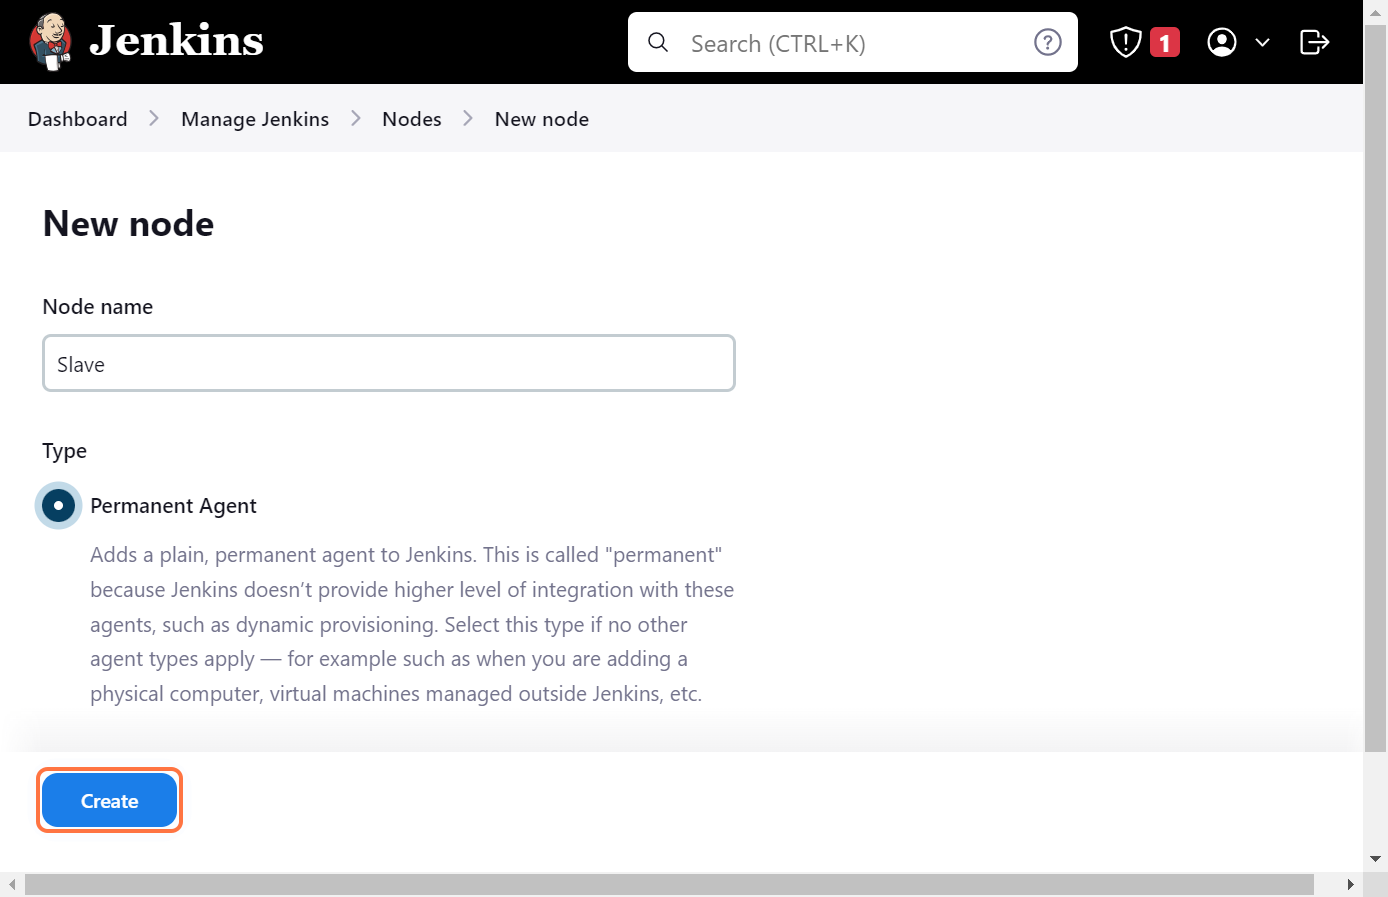
Step 4: Give the name of the node, for explanatory the node name is given as Slave (it is not recommended to give such a name; we have done so here for the example). Click on Permanent Agent and then click on Create.
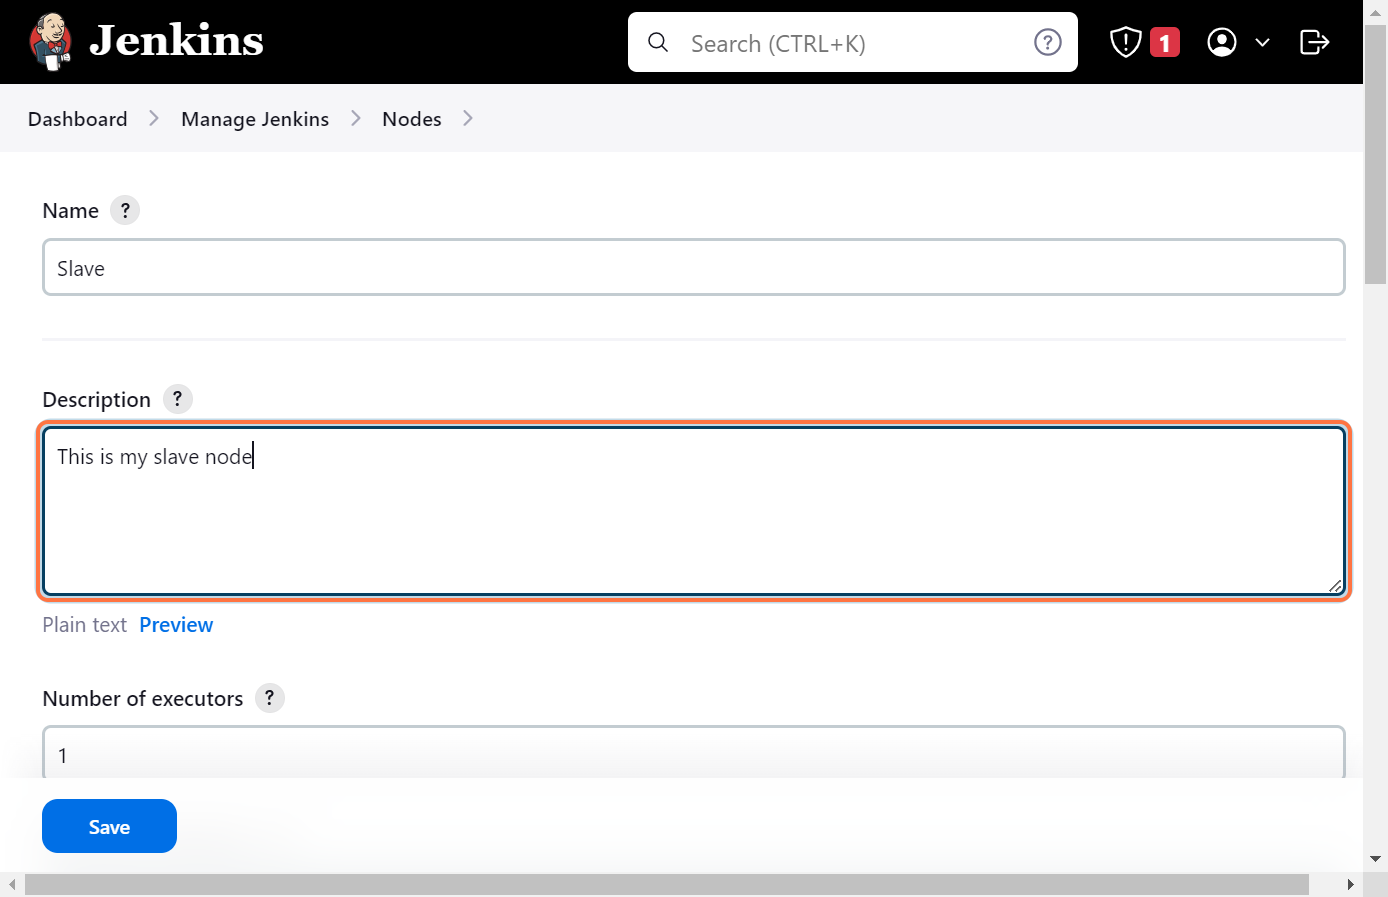
Step 5: Add a description of the node.
Need help with your cloud infrastructure?
Our experts at CloudZenia are ready to help you build, scale, and secure your setup.
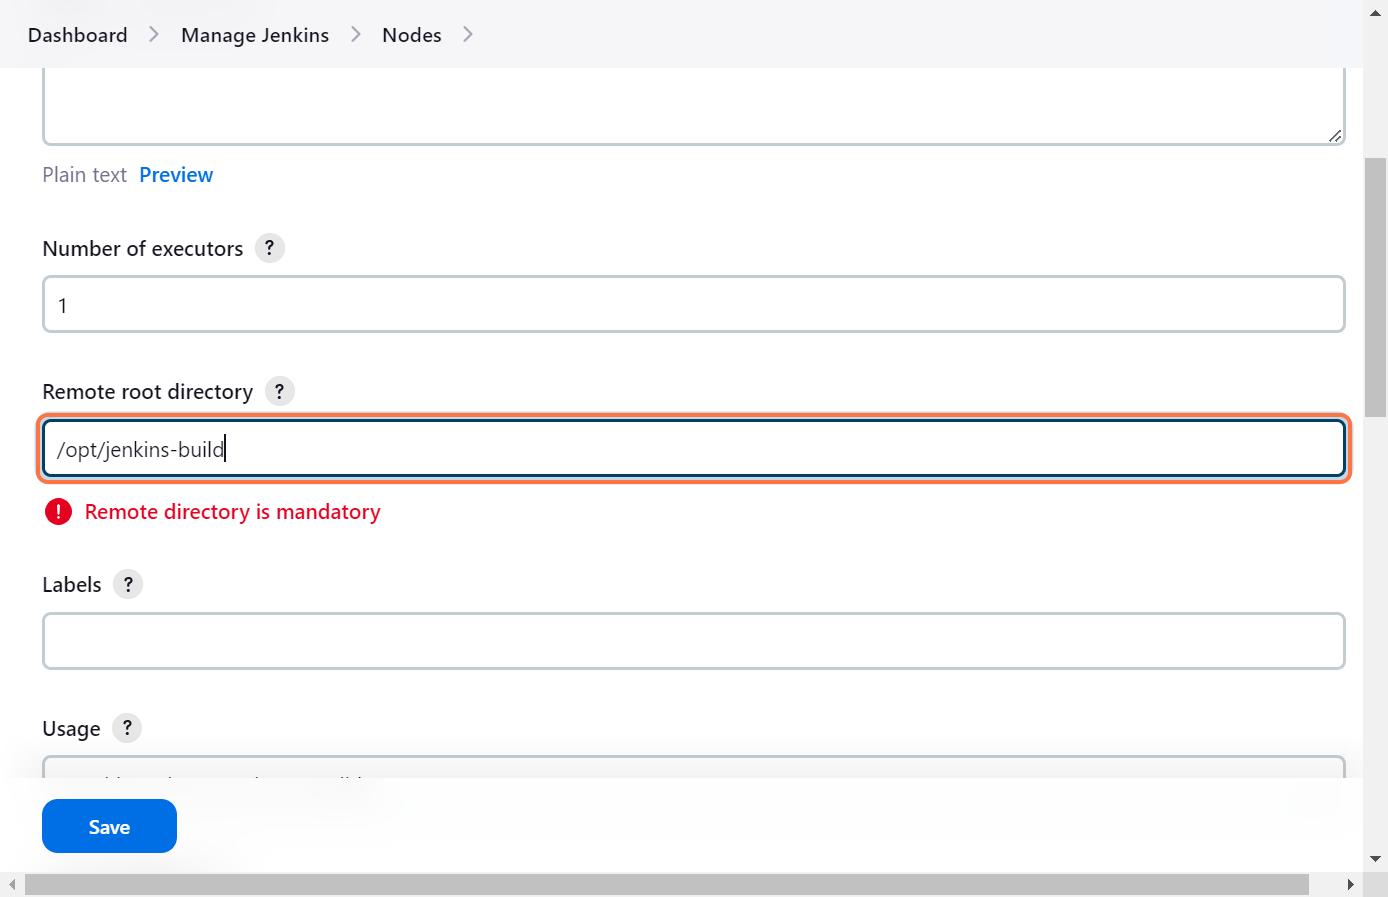
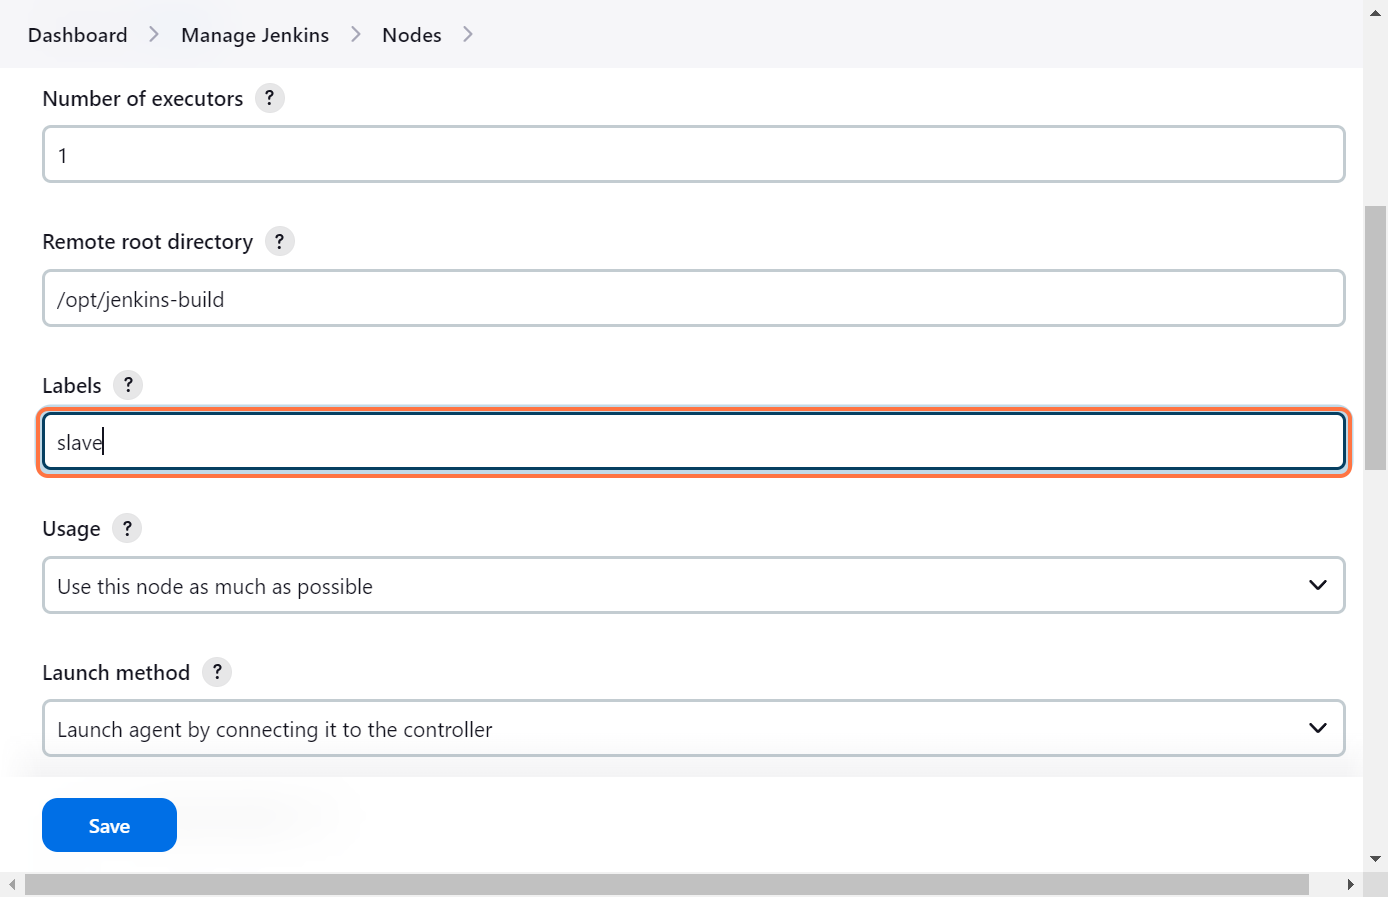
Book a Free ConsultationStep 6: Select the Number of executors to 1, generally equal to the number of vCPUs your machine has. It means how many parallel tasks this node can handle. If a task/ process requires one thread, then it consumes one core of your machine, which is how many vCPUs your machine has. So, we will be selecting this based on vCPUs. Next, we need to create a directory on your Slave Node to set our root directory. For this, you can use these commands. sudo su - cd /opt # Make a directory this will have all the Jenkins related tasks mkdir jenkins-build cd jenkins-build pwd # Copy the path and paste it in the Jenkins Section Remote root directory
Step 7: Add labels, for now, we have added slave as the label; it is generally given as dev, stage, etc. Select Usage to Use this node as much as possible and the Launch method to Launch the agent by connecting it to the controller.
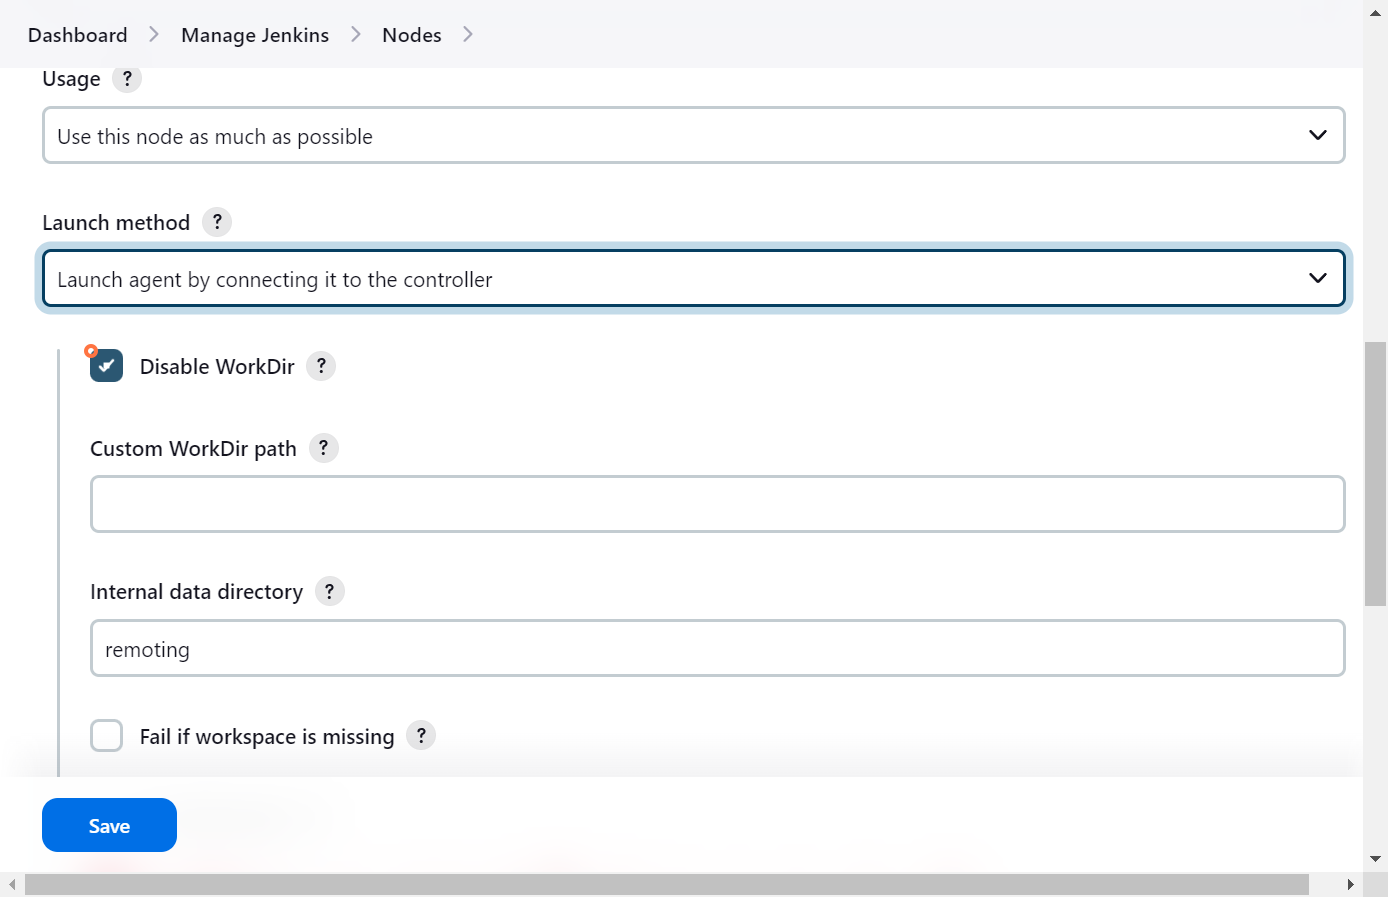
Step 8: Disable the WorkDir.
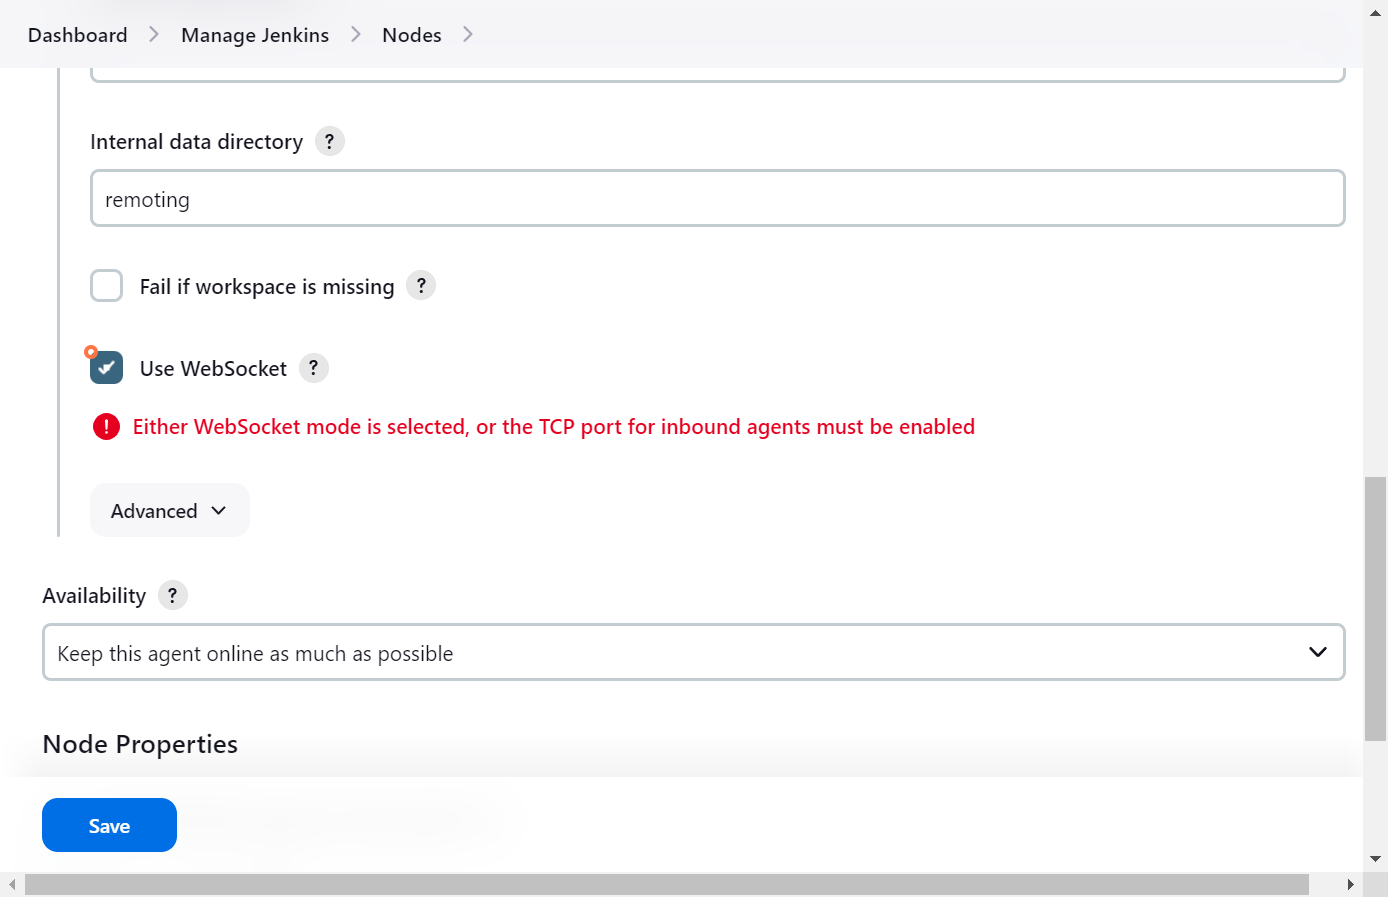
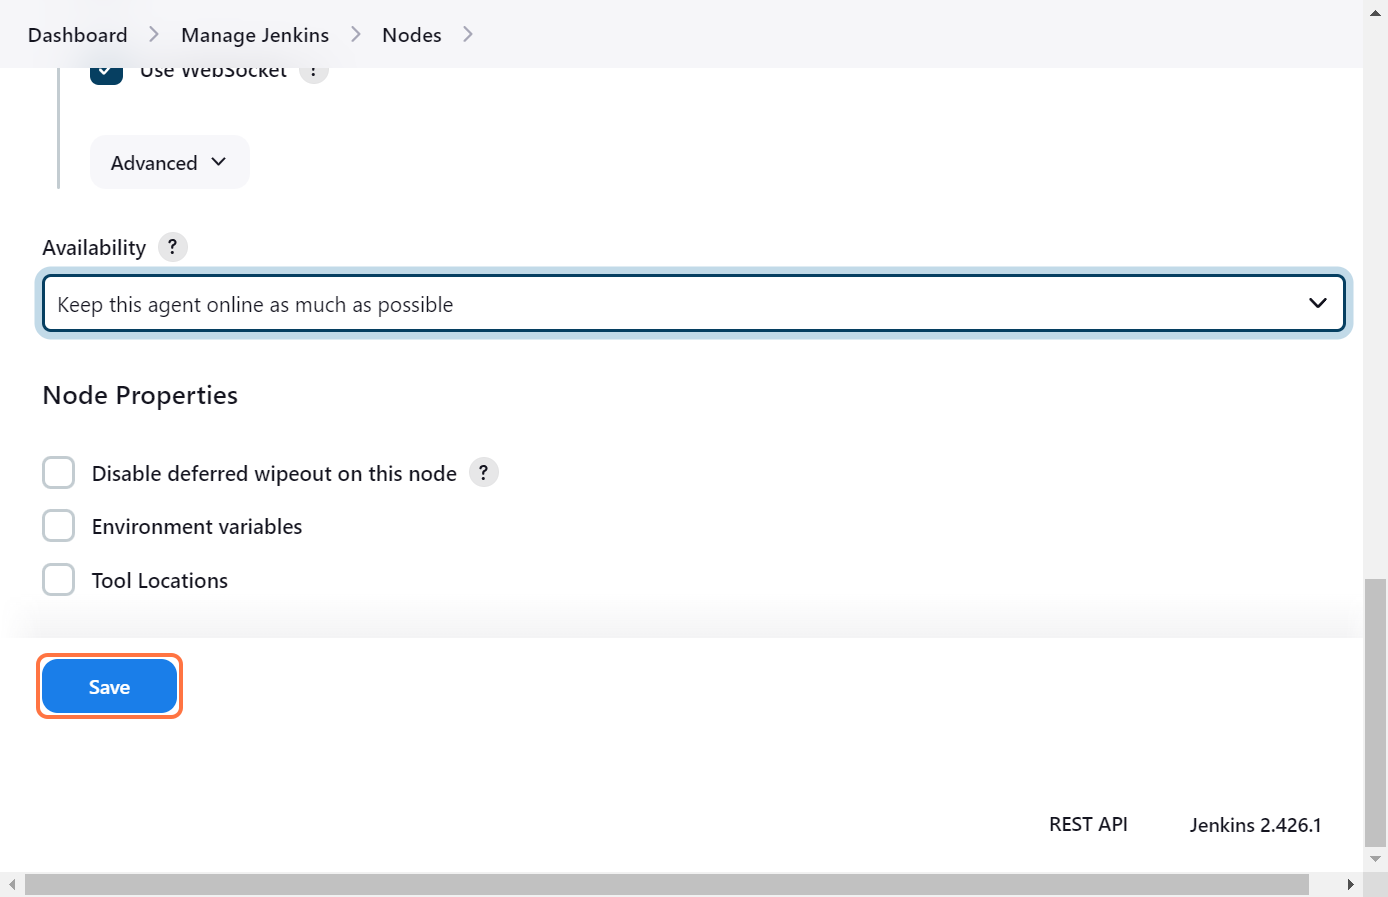
Step 9: We will be using WebSocket for this and select Availability to Keep this agent online as much as possible.
Step 10: Click on “Save”.
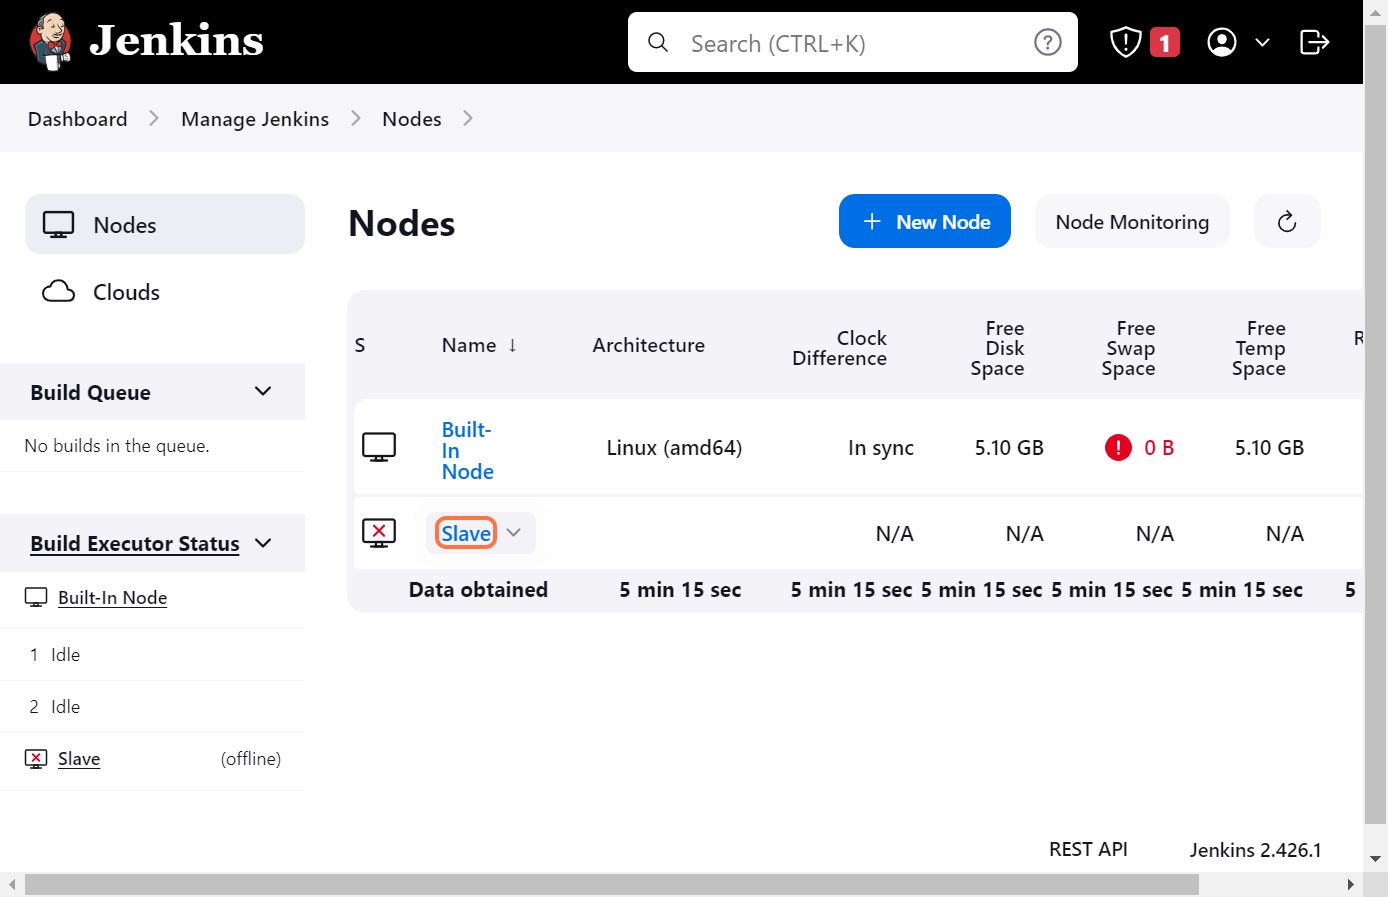
When you click “enter”, you will see a red cross in front of our Slave node. This means our agent is not yet connected. To connect our agent with the master node, we need to follow some steps.

Step 1: Click on “Slave”.
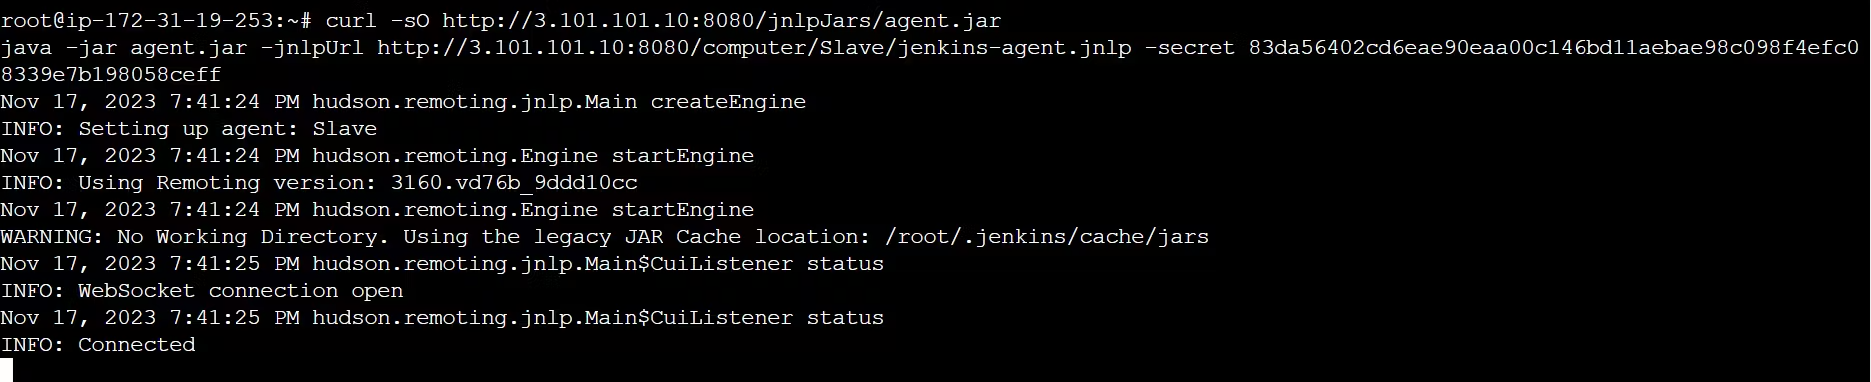
Step 2: To connect with our master node, we need to install agent.jar on our master node. To install agent.jar, copy the command according to your environment and enter it onto your master node.

You will see something like this - INFO: “ Connected” indicates that your master node is successfully connected with your slave node.
Step 3: Now, to check whether it is connected or not, refresh the slave node.
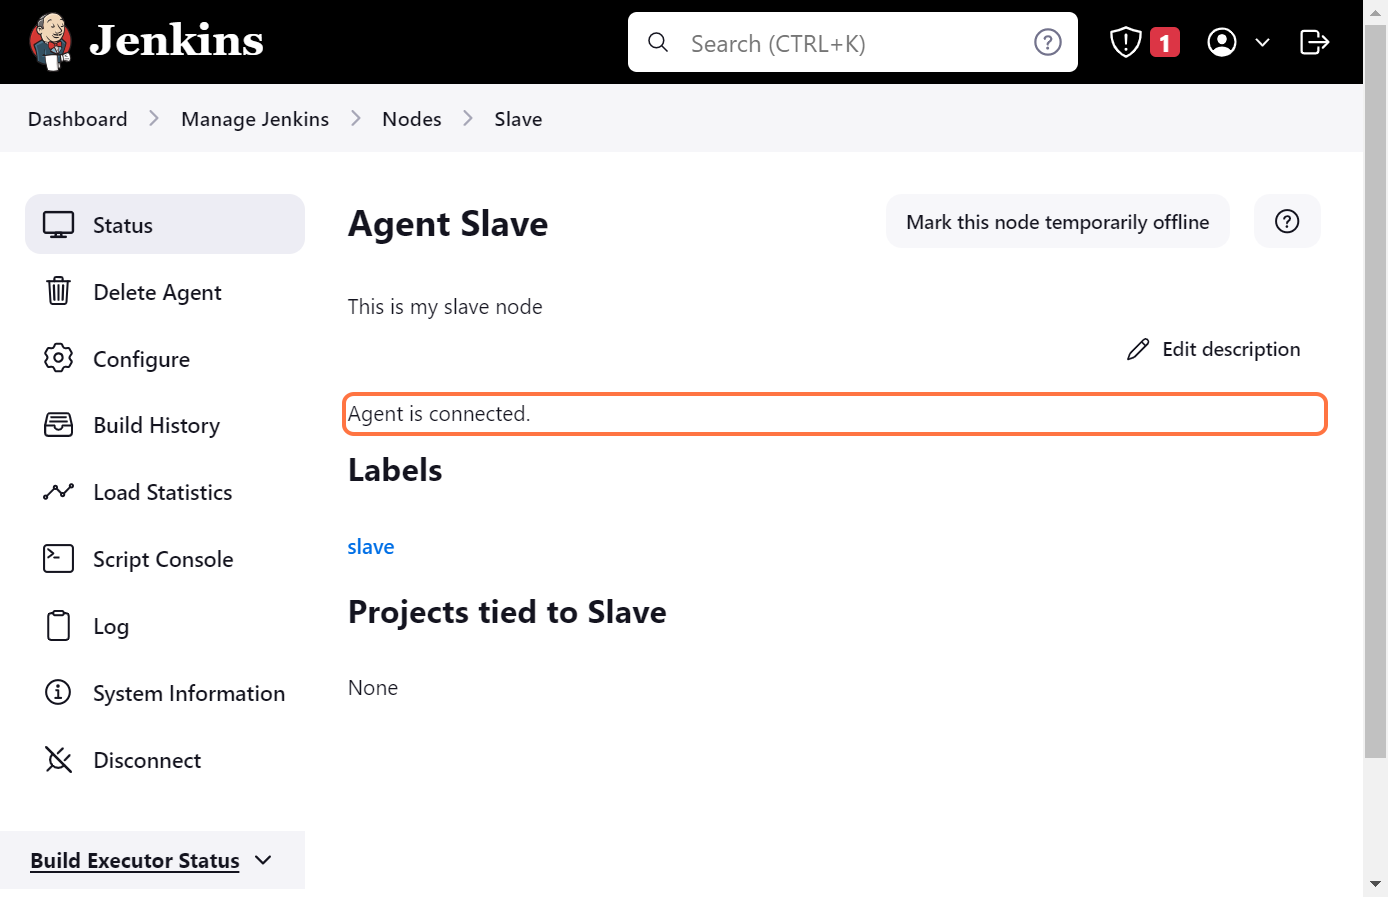
Yooo!! Hoo!! We have successfully created master-slave architecture in Jenkins.
Conclusion We hope this blog helped you understand this amazing master-slave architecture for distributed building processes and the advantages of using this type of architecture. We successfully created our own Master-Slave Architecture. We would recommend you try making it on your own for the best understanding of the concepts. You can visit CloudZenia for more such blogs and even seek professional services as you want. Thanks for your time.

Ujjwal Mahar Linkedin Dec 04, 2023
Filed under