
Introduction Argo CD is widely recognized for simplifying the continuous delivery process of applications within Kubernetes clusters, offering greater ease and reduced overhead. In addition to Argo CD, there's another valuable tool called Argo Rollouts , which we'll explore further in upcoming sections. While Kubernetes provides several deployment strategies, they often come with limited features, and achieving zero downtime can be challenging. This is where Argo Rollouts steps in, extending Kubernetes deployment capabilities significantly. With Argo Rollouts, deploying applications to production environments becomes more efficient, requiring less time and ensuring zero downtime.
What is Argo Rollouts? Argo Rollouts is a Kubernetes controller and a set of Custom Resource Definitions (CRDs) that enhance deployment capabilities within Kubernetes. It offers advanced features like blue-green deployments , canary releases , canary analysis and progressive delivery . In essence, Argo Rollouts introduces a new Kubernetes resource called 'Rollout', which serves as a replacement for the traditional 'Deployment' resource. Through this Rollout resource, users gain finer control over the deployment process of their applications. I am showcasing how to use the blue-green deployment strategy in your production environment. All the necessary steps and manifest will be provided, just follow along with me.
Prerequisites
- Up and Running Kubernetes cluster, Kubectl installed and configured.
- Argo CD and Argo Rollouts are installed on the cluster.
- Argo Rollouts CLI installed. You can use the below commands if not. kubectl create namespace argo-rollouts kubectl apply -n argo-rollouts -f https://github.com/argoproj/argo-rollouts/releases/latest/download/ install.yaml curl -LO https://github.com/argoproj/argo-rollouts/releases/latest/download/kubectl-argo-rollouts-linux-amd64 chmod +x ./kubectl-argo-rollouts-linux-amd64 sudo mv ./kubectl-argo-rollouts-linux-amd64 /usr/local/bin/kubectl-argo-rollouts kubectl argo rollouts version
Step-01: Creating Kubernetes Resources As we discussed in the introduction, here is the resource of kind ' Rollout ', which communicates with Kubernetes to deploy your application as suggested or specified. You'll notice its similarity to deployment resources, with the addition of a new property, ' strategy ', through which we specify the deployment strategy to be used and associated services. In this setup, we're creating two services. The rationale behind this decision is twofold: one service is dedicated to handling direct internet traffic, serving as the primary endpoint for accessing your application. The second service is designated for post-deployment verification, allowing us to assess the new version before making it live, ensuring it meets our quality and performance standards. kubectl apply -f active-svc.yaml kubectl apply -f preview-svc.yaml kubectl apply -f rollout.yaml 1. active-svc.yaml kind: Service apiVersion: v1 metadata: name: rollout-bluegreen-active spec: selector: app: rollout-bluegreen type: LoadBalancer ports: - protocol: TCP port: 80 targetPort: 3000 2. preview-svc.yaml kind: Service apiVersion: v1 metadata: name: rollout-bluegreen-preview spec: selector: app: rollout-bluegreen type: NodePort ports: - protocol: TCP port: 80 targetPort: 3000 3. rollout.yaml apiVersion: argoproj.io/v1alpha1 kind: Rollout metadata: name: rollout-bluegreen spec: replicas: 2 revisionHistoryLimit: 2 selector: matchLabels: app: rollout-bluegreen template: metadata: labels: app: rollout-bluegreen spec: containers: - name: storeapp-rollout image: rishi93rich/storeapp:v1 imagePullPolicy: Always ports: - containerPort: 3000 imagePullSecrets: - name: docker-hub-secret strategy: blueGreen: activeService: rollout-bluegreen-active previewService: rollout-bluegreen-preview autoPromotionEnabled: false
Step-02: Accessing the Deployment After creating the resources, copy the external IP address of your active service and paste it into the browser. Since this is our first revision of the application, we can observe both services active, with the preview pointing to the same revision of the application.
Step-03: Creating a New Revision of the Deployment Suppose there's a bug in the first revision or we need to launch a new feature. In such cases, we modify the code, build the Docker image, and store it in the registry. Now, we're deploying the new revision of my application using this updated image. Both version 1 and version 2 images have already been stored in my private DockerHub registry. After completing the above step, let's verify whether the new revision of the application is running smoothly. We'll inspect the required changes and ensure everything is functioning as expected. If all checks out, we'll promote this revision to production. Subsequently, all users will receive this updated revision instead of the old one. kubectl argo rollouts get rollout rollout-bluegreen --watch kubectl argo rollouts set image rollout-bluegreen storeapp-rollout=rishi93rich/storeapp:v2 kubectl argo rollouts promote rollout-bluegreen Note: Please observe the pods; you will find four pods present. Two pods represent the old revision, while the other two represent the new revision. Upon promoting the rollout, the pods associated with the old revision will be terminated automatically. This process ensures a seamless transition to the updated version of the application.
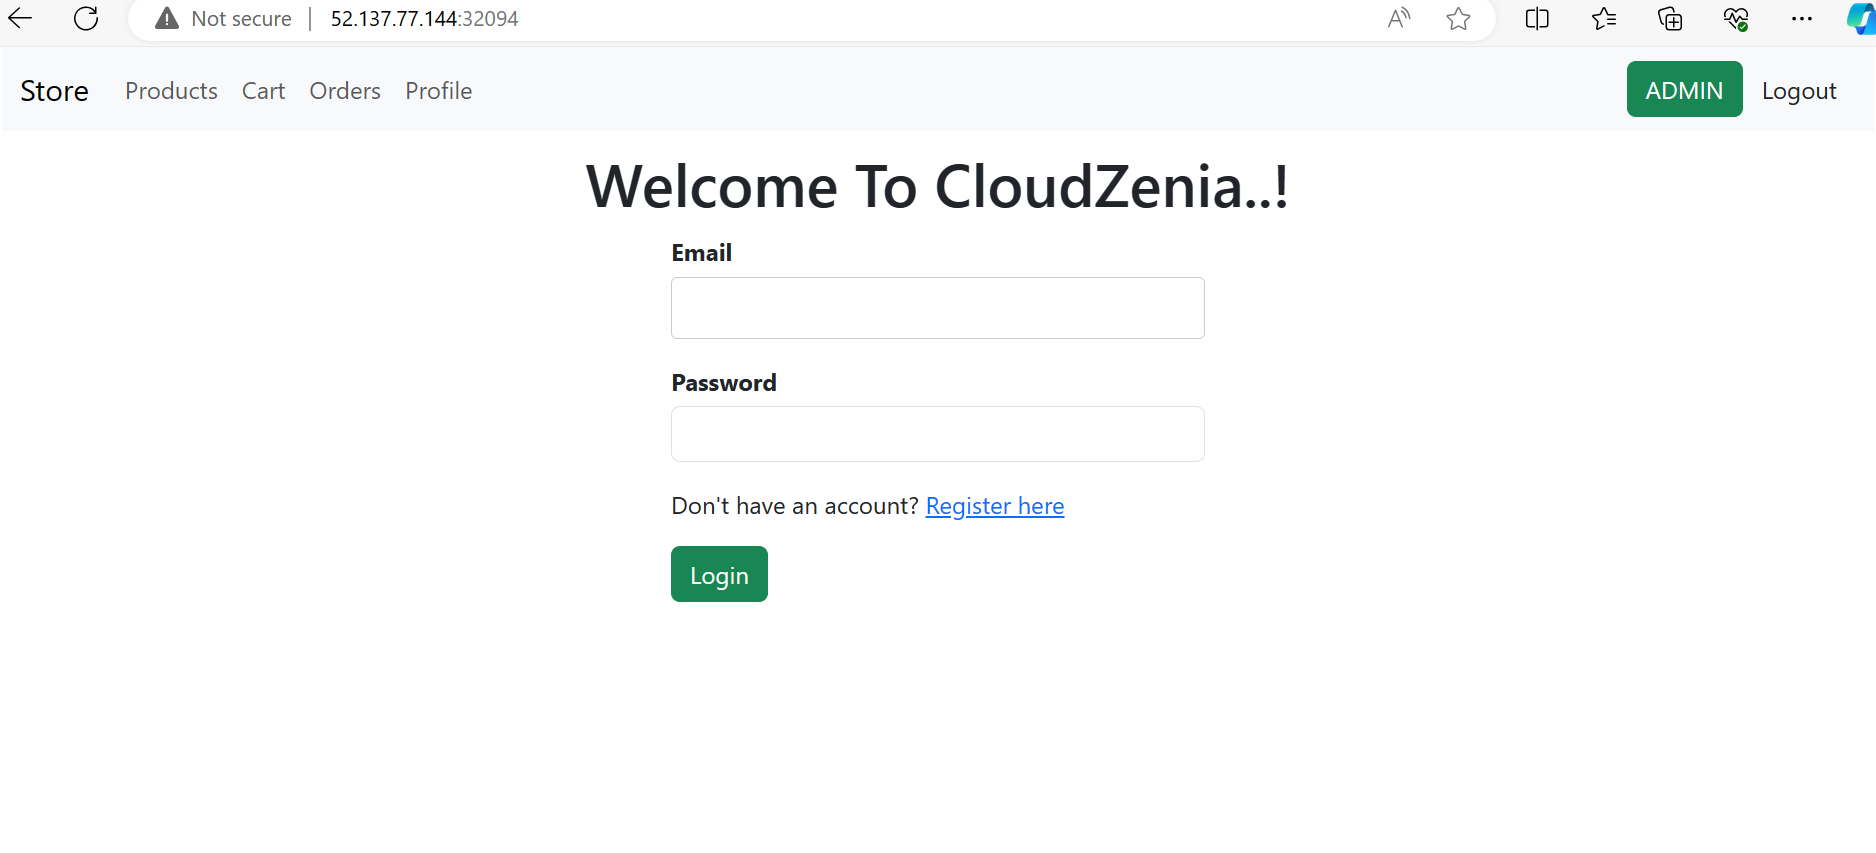
Step-04: Deployment Revisions Revision-1
Need help with your cloud infrastructure?
Our experts at CloudZenia are ready to help you build, scale, and secure your setup.
Book a Free Consultation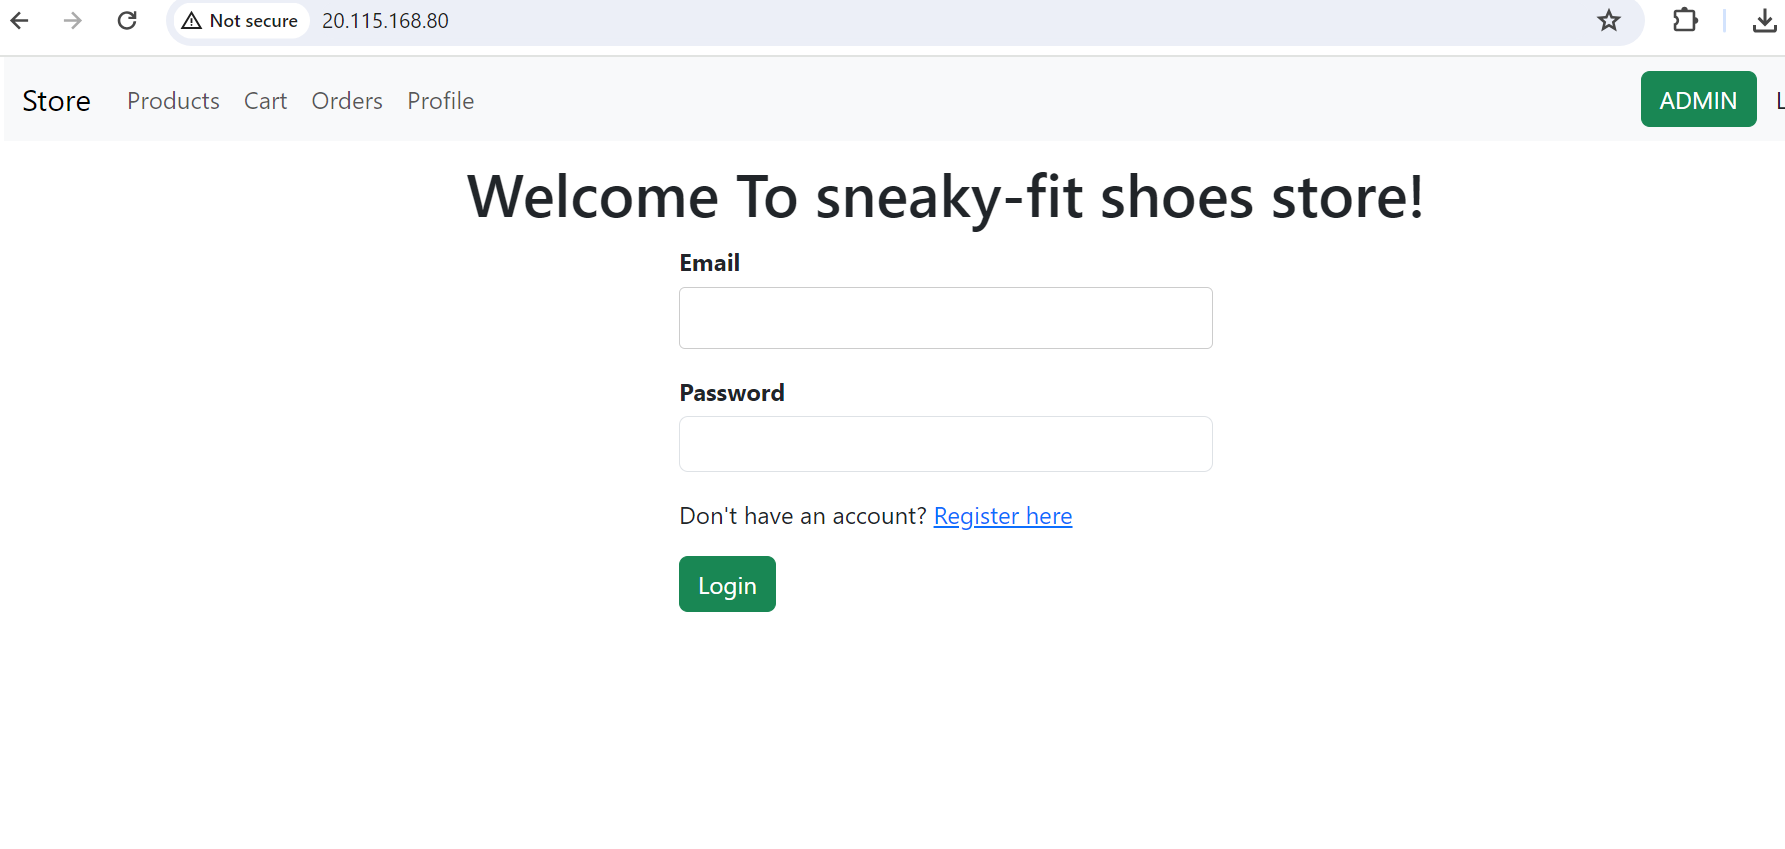
Revision-2
Step-05: Clean Up Run the below commands to delete the resources. kubectl delete rollout rollout-bluegreen kubectl delete svc rollout-bluegreen-active kubectl delete svc rollout-bluegreen-preview
Disclaimer : In this demo, I'm creating my own images and storing them in my private DockerHub registry. To pull these images, I've created an imagePullSecrets . If you're following along, you might encounter errors. I suggest you use publicly available images and make necessary changes in the manifest, such as containerPort and targetPort. You can use the below images.
- argoproj/rollout-demo:blue , containerport:8080
- argoproj/rollout-demo:yellow, containerport:8080
- argoproj/rollout-demo:green, containerport:8080
Conclusion : In this blog, we explored Argo Rollouts and its significance in facilitating seamless application deployment without disrupting traffic or user experience. We learned how Argo Rollouts enable us to achieve zero downtime and discussed the configuration of the blue-green deployment strategy. I recommend conducting hands-on exercises for a deeper understanding of the concepts discussed. Additionally, I encourage reading the documentation of Argo Rollouts to further enhance your knowledge and proficiency in deploying applications effectively. For more such cloud-based information and learning resources, you can visit our CloudZenia website.

Ghate Rushikesh Linkedin Jun 24, 2024
Filed under